Installation Guide
Simple Installation Guide
We have made the installation of your new wardrobe sliding doors very simple.
We have provided you with a step by step guide outlining how our professional installer fits the sliding wardrobe doors and we are confident that anyone with basic DIY skills will be able to complete the whole process themselves.
Tools and Fixings Needed:
Pozidrive screwdriver, measuring tape, hacksaw, bradawl, spirit level, electric drill, drill bits, screws and suitable wall plugs.
Step 1: Sizing and Fitting Strike Plates
Strike plates are oversized and will need to be cut down and fixed to each side of the wall / end panel. Using a level, position and fit each strike plate flush to the front of the opening.
Step 2: Sizing the Tracks
You will be provided with two tracks. First measure the width of the top of your opening and use a set square to mark a straight line across the top track. Second measure the width of the floor of your opening and mark a corresponding line across the floor track. Cut the tracks using a fine tooth hack saw.
Step 3: Installing Top & Bottom Tracks
Position the top track and drill and plug into the ceiling. Fix the top track using suitable screws and fixing (not supplied).
Note: The standard minimum size of 610mm is used as a wardrobe.
Before permanently fitting the floor track to the floor, fit the door into place and use a spirit level to ensure door is vertical.
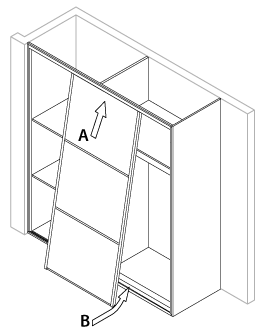
Step 4: Inserting the Doors
Install the back door first and install by inserting in the top track on an angle. Straighten the door and lower the bottom wheels into the floor track grooves.
